Grilling has always been a beloved technique among barbecue enthusiasts, but barbecue braising is revolutionizing the game. This unique approach combines the robust flavors of grilling with the tenderness achieved through slow cooking, resulting in juicy, flavorful meats. In this guide, we’ll dive into the essentials of barbecue braising, exploring its core techniques and offering advanced tips to help you master this versatile cooking method.
Understanding Barbecue Braising
Barbecue braising is a two-part cooking technique. First, the meat is seared at a high temperature on the grill to lock in juices and develop a rich, smoky flavor. Then, it’s slow-cooked in a liquid—such as broth, beer, or a marinade—creating a tender, fall-apart texture. This technique is ideal for cuts like pork shoulder, ribs, and brisket, balancing grilling’s intense flavors with braising’s ability to soften tough fibers.
Why Opt for Barbecue Braising Over Traditional Grilling?
While traditional grilling is great for quick, high-heat cooking, barbecue braising offers advantages that bring out deeper flavors and an ultra-tender texture. Here’s why barbecue braising is worth adding to your repertoire:
- Perfect for Tough Cuts: Slow-cooking tenderizes collagen-rich meats like brisket, short ribs, and pork shoulder.
- Enhanced Flavor Profiles: The braising liquid allows for endless flavor possibilities, from smoky and spicy to sweet and tangy.
- Retains Moisture: Braising helps retain moisture in the meat, a challenge with traditional grilling.
- Versatile Applications: This method isn’t just for meat; you can braise a range of proteins and vegetables to expand your cooking options.

Essential Ingredients for Successful Barbecue Braising
For exceptional barbecue braising, carefully select your ingredients to elevate each element of the dish. Here’s what you’ll need:
1. Choosing the Right Meat
Tougher cuts with connective tissue are ideal for braising. Some popular options include:
- Brisket: Dense and flavorful, perfect for low and slow cooking.
- Pork Shoulder (Butt): Rich in fat and collagen, yielding tender, juicy results.
- Short Ribs: Known for their marbling and rich beef flavor.
- Chicken Thighs: Higher in fat than breasts, making them juicy and flavor-absorbent.
2. Selecting a Braising Liquid
Your braising liquid defines the dish’s flavor profile. Great options include:
- Beer or Ale: Adds a depth and slight bitterness, complementing pork and beef.
- Wine: Red wine for beef and white for chicken enhances richness.
- Broth: Chicken, beef, or vegetable broth contributes savory undertones.
- Vinegar: Apple cider or balsamic vinegar brings a balancing acidity.
- Barbecue Sauce: Sweet and tangy, perfect for adding traditional BBQ notes.
3. Adding Aromatics and Spices
Aromatics and spices infuse the meat and braising liquid with nuanced flavors:
- Onions and Garlic: Essential base flavors that enhance nearly any dish.
- Herbs: Rosemary, thyme, and bay leaves provide earthy undertones.
- Spices: Paprika, cumin, black pepper, and chili flakes add warmth and spice.
- Sweeteners: Brown sugar or molasses contributes a caramelized sweetness.
Step-by-Step Guide to Barbecue Braising
Achieving the perfect barbecue braise requires balancing high-heat searing with low, slow cooking. Follow these steps for consistently delicious results:
Step 1: Preheat and Sear
Heat your grill to around 400°F to 450°F and sear the meat on all sides. This step locks in juices and adds a smoky, caramelized crust. Depending on the cut, searing takes about 5-10 minutes.
Step 2: Prepare the Braising Liquid
While searing, prepare the braising liquid in a heat-safe pan. Combine your choice of liquid with aromatics, herbs, and spices, then bring it to a simmer to meld the flavors.
Step 3: Begin Braising on the Grill
Transfer the seared meat to a covered pan or heavy-duty foil. Pour the braising liquid over the meat until it’s partially submerged. Cover tightly with foil or a lid, and move the pan to a cooler part of the grill for indirect heat.
Reduce the grill temperature to around 300°F, letting the meat braise for several hours. Large cuts like brisket or pork shoulder may need 3-4 hours to reach fork-tender perfection.
Step 4: Final Sear and Glaze with Sauce
Once the meat is tender, remove it from the braising liquid and give it a final sear over direct heat for 5-7 minutes. Brush it with barbecue sauce to create a sticky, caramelized glaze.
Step 5: Rest and Serve
Allow the meat to rest for 10-15 minutes before slicing or shredding, letting the juices redistribute for the most flavorful, tender results.

Advanced Techniques for Barbecue Braising
While barbecue braising is simple, these advanced methods can elevate your skills:
1. Double Braising for Intensified Flavor
After the first braise, strain and reduce the braising liquid to concentrate flavors. Use this reduced liquid for a second braise, further infusing the meat with complexity.
2. Smoke-Braising for Enhanced BBQ Flavor
For added smokiness, incorporate wood chips like hickory or mesquite during the braising stage. Soak the chips beforehand for a slower, richer smoke release.
3. Adding BBQ Rubs
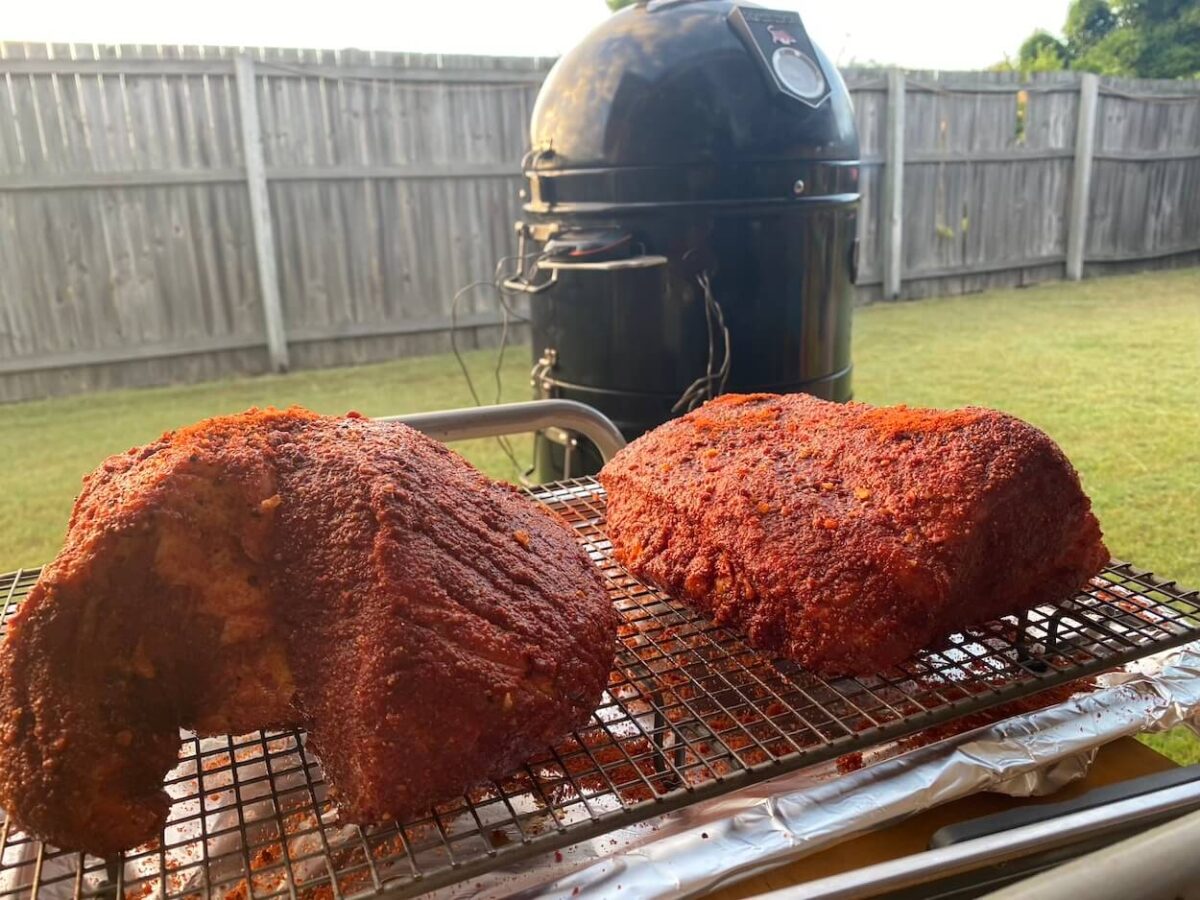
Applying a dry rub before braising brings another layer of flavor. A classic BBQ rub of salt, pepper, paprika, garlic powder, and brown sugar works well.
4. Maintaining Ideal Temperature and Timing
Consistent low heat is essential for successful braising. Keep your grill temperature between 275°F and 300°F, using a grill thermometer to monitor and adjust as needed.

Conclusion: Elevate Your Barbecue Game with Braising
Braising, a staple technique among chefs, brings a world of flavor possibilities to barbecue. By combining a high-heat sear with slow-cooked tenderness, barbecue braising transforms tough cuts into flavorful, melt-in-your-mouth dishes. Whether for a casual cookout or a competitive BBQ, this technique is sure to elevate your grilling game to new heights.
